Vintage Entryway Decor Ideas: Styling a Small Foyer Vignette
Our front entryway has two small walls on either side of the door to the half bath, and an open…
The journey of decorating our brand new, totally different from anything I’ve ever lived in before, house. I invite you to follow along through pictures.
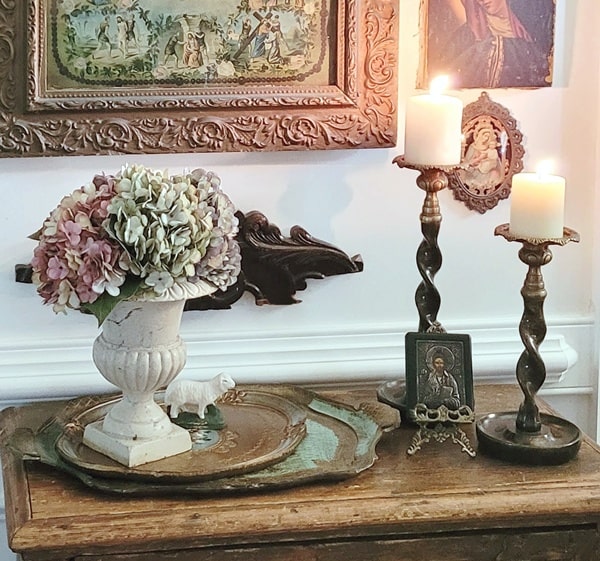
Our front entryway has two small walls on either side of the door to the half bath, and an open…

Today on the blog: Upcycling lamp parts in a way you might not have thought of. You know how we…

What do you do with the space between the top of the window and the curtain rod in a room with tall ceilings? See my solution here.
So you have some vintage Halloween decorations and wondering what to do with them? In this post I share what…