Vintage Entryway Decor Ideas: Styling a Small Foyer Vignette
Our front entryway has two small walls on either side of the door to the half bath, and an open…
Let’s decorate with vintage! Let your home be unique. Let it tell the story of you and your family. Mix old with new or be a vintage purist. Don’t be afraid to create your own style. Have fun!
I’m sharing pictures of my decor. Maybe some little something will inspire you or give you your own fresh idea.
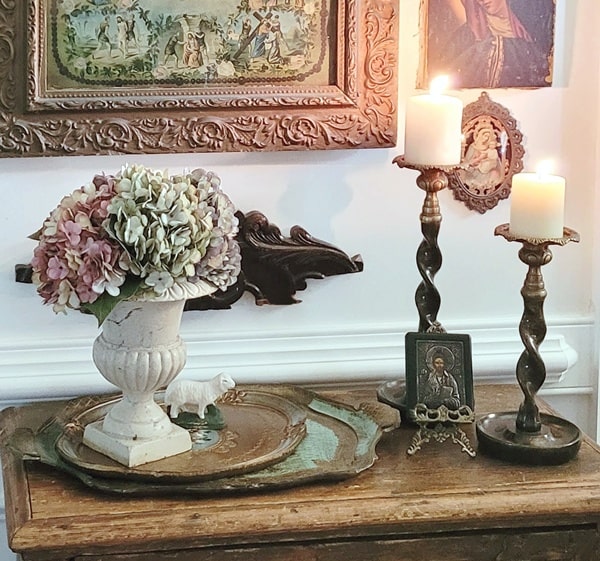
Our front entryway has two small walls on either side of the door to the half bath, and an open…

Decorating for Easter with vintage Easter decor and collectibles. Vintage Easter items, pre-1960s can be hard to find. My collection…
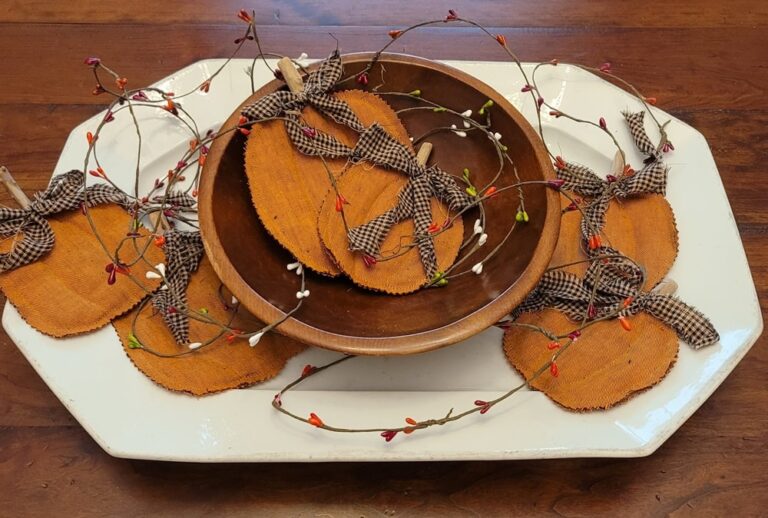
These fabric pumpkin bowl fillers are fun, easy, and inexpensive to make! I saw these done by the fabulous Melissa…

Have you been wondering if you should try Temu’s cheap silk flowers? Wondering how they compare to what you can…